Dining Room Layout: Plan the Table, Chairs and Walkways
Draw a dining room floor plan around occupied chairs, doors and storage. Work through table-size calculations and compare three useful arrangements.
By DecoraMintPublished 5-minute readMore in Dining
In this guide
A dining table looks fine in a floor plan with the chairs tucked in. Dinner is different: six people push back, someone carries a dish from the kitchen, and a door has to open behind a guest. The question to ask of any layout is how much room is left around the table once the chairs are occupied, and where the route from the kitchen runs while they are.
For that, the most useful published figures come from the National Kitchen & Bath Association. Its Kitchen Planning Guidelines cover seating areas in kitchens, not dining rooms as such, so treat them as a borrowed reference. Guideline 8 recommends 32 inches from the counter or table edge to a wall or other obstruction behind seating where no traffic passes behind a seated diner, at least 36 inches if someone needs to edge past, and at least 44 inches if someone needs to walk past. The figures are measured from the table edge, so they include the seated person and the chair. NKBA marks them as recommendations and notes that state or local codes may apply.
Room & Board’s dining planning guidance uses 36 inches from table to wall or furniture as a starting point, which sits in the same range. These are planning figures. A diner, a tray and a doorway can still make a given room tighter than the numbers suggest.
Fixed features first
Measure each wall and mark the openings where they actually fall. Add the direction doors open, the projection of a fireplace or built-in, and anything else that holds floor. Note window sill or trim height where it affects a sideboard. Then draw the routes people already use: from the kitchen to the far end of the table in a separate dining room, or the main path to the back door in an open plan. Show them on the drawing instead of treating every empty corner as available.
Make a second list of movable things: a sideboard, bar cart, high chair, occasional extra seating. A generous table ringed by storage you cannot open is a poor trade if you use that storage daily.
Working through a rectangular room
Take a usable room of 144 by 120 inches with a 72 by 36 inch table centered in it.
| Direction | Calculation | Table-to-wall space |
|---|---|---|
| Along the table’s length | (144 − 72) ÷ 2 | 36 inches at each end |
| Across the table’s width | (120 − 36) ÷ 2 | 42 inches along each side |
Add a 16-inch-deep sideboard on one long wall and the usable width falls to 104 inches. Re-center the table in what remains and each side gap becomes 34 inches: (104 − 36) ÷ 2. That is under NKBA’s 36 inches for edging past a seated diner, and the original 42 inches no longer describes the room. The 36 inches at the ends meets the edge-past figure but falls short of the 44 inches for walking past a seated diner. These numbers are a way to see a constraint before you buy, and they say nothing about code or accessibility. For a layout that has to meet an accessibility requirement, use the applicable standard and qualified advice. NKBA’s own access figures are larger, calling for 60 inches behind a seated diner where a person using a wheelchair needs to pass.
Table shapes
Start from the actual footprint of the table and chairs, since a shape name does not tell you how many people it seats or whether the base gets in their legs.
A rectangular table needs its full length drawn, including any leaf you will use, in both orientations. A table running parallel to the long wall may leave a useful route along one side, though the kitchen door can change the answer. A round table loses its corners but not the space needed to move a chair, so draw the circle at its true diameter and add chairs, and look at the base. An oval is best drawn from the maker’s outline, because overall length hides how the curved ends sit relative to a doorway. An extendable table needs two plans: the closed one for ordinary days and the open one, with a place for displaced furniture, the leaves and the extra chairs.
Three rooms
A separate dining room with a sideboard. Draw the table, then try the sideboard on the wall that gives the best serving access and mark its open doors and drawers. If it takes the space behind a seated guest, try a shallower piece, another wall or storage in a different room. Do not center the table between the original walls after adding a deep cabinet. Center it in the usable area, then see what that does to the ceiling light. If it shifts the table far from the fixture, the fixture may need to move, and a qualified electrician should do that work.
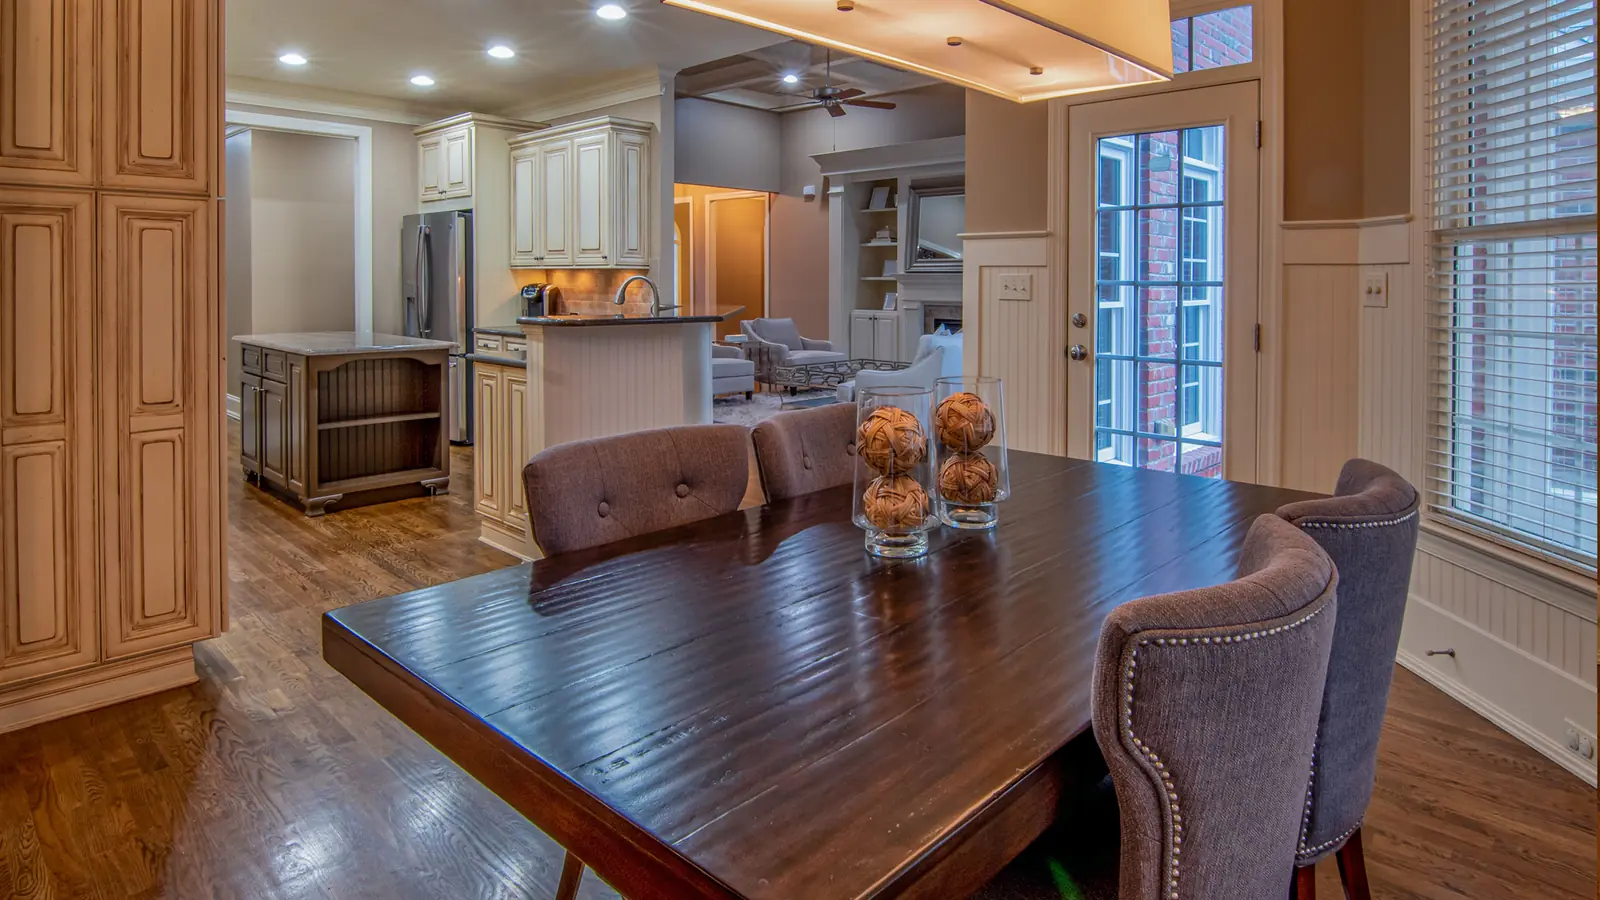
An open kitchen and dining area. Draw the island stools and the dining chairs in use at once, and look at where the two occupied zones approach each other. A route that works with the stools tucked under the counter can close up at dinner. Shifting or rotating the table may be enough, and if neither keeps the main route workable, a smaller table is better than permanent extra seats.
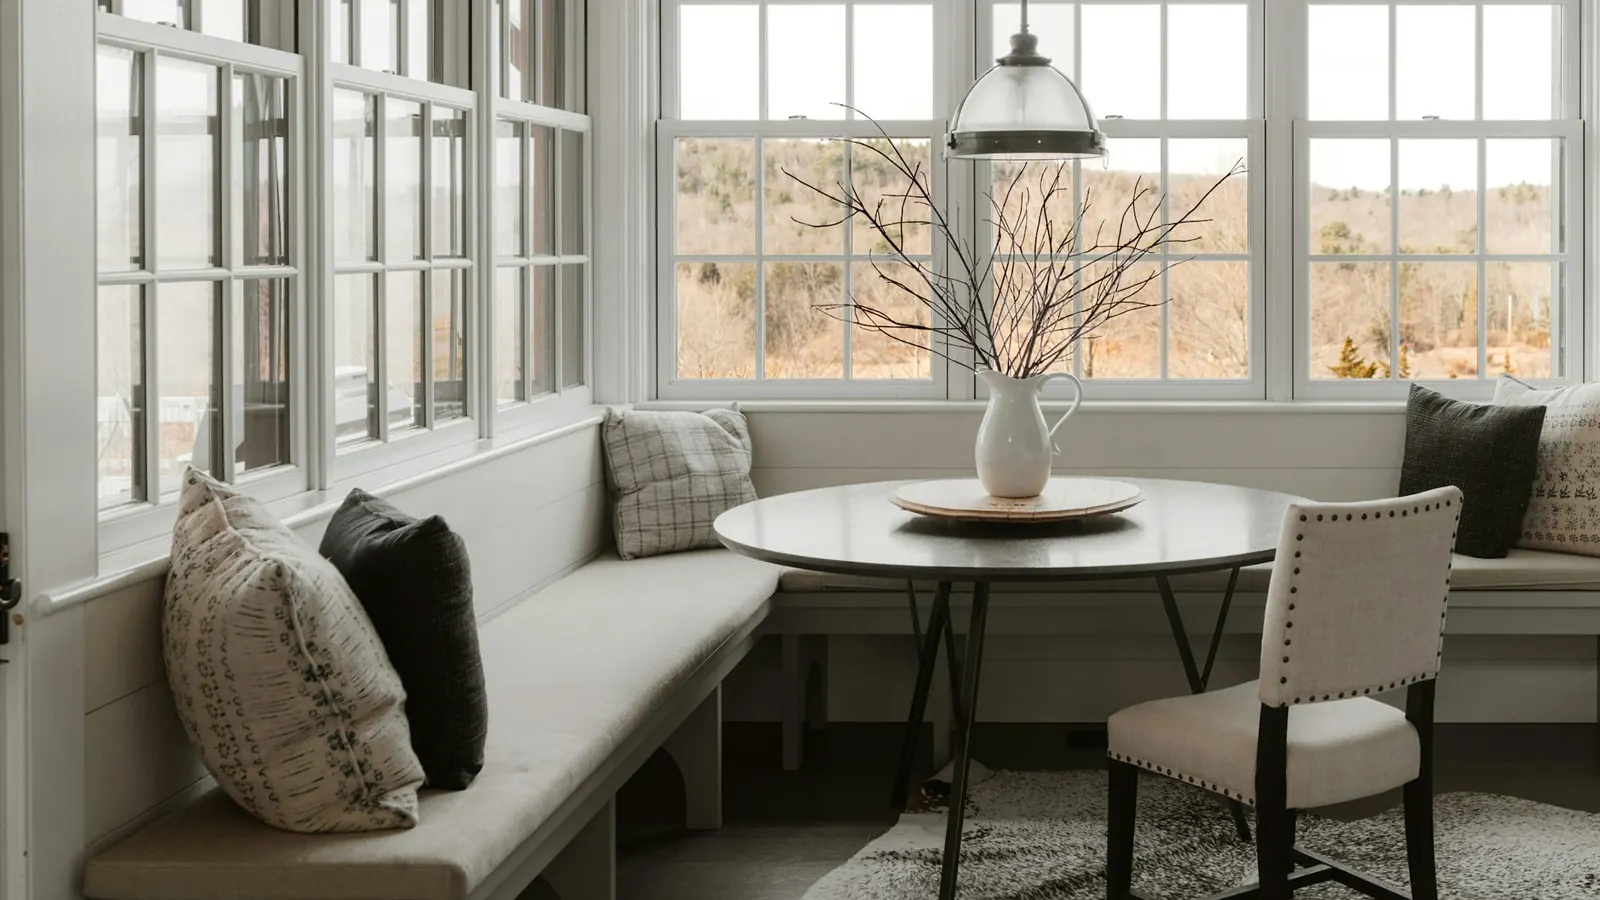
A small dining corner. Plan for the everyday number of diners first. A compact table often beats a bigger one whose chairs cannot be pulled out without blocking the only way in. A bench against the wall changes how people get in and out, so test the middle place as well as the end, and do not count all of the bench length as equally convenient seating. A built-in banquette needs its own dimensioned plan.
Rug, light and the small items
Once the furniture works, mark the rug edges and try the chairs on the actual surface if you can. A rug cannot create a passage between furniture and a wall. Add the things that are easy to forget: a pet bowl, a child’s chair, a serving cart, a waste bin in an open kitchen. The drawing should show the room as used, not an empty presentation plan.
Before you order, tape the footprint on the floor, put your current chairs where the new ones will go and sit through a normal meal. Open the nearby doors and cabinets fully, walk the main route with the chairs occupied, and test the expanded table separately if it has leaves. Measure the delivery path and assembly space too, since fitting the room is only half the job.