Pinch Pleat Curtains: Measure Coverage, Choose Pleats and Hardware
Pleating swallows fabric, so finished width is not the width of cloth. Choose the heading, decide whether the panels must close, and leave room for them when open.
By DecoraMintPublished 6-minute readMore in Blinds & Shades
In this guide
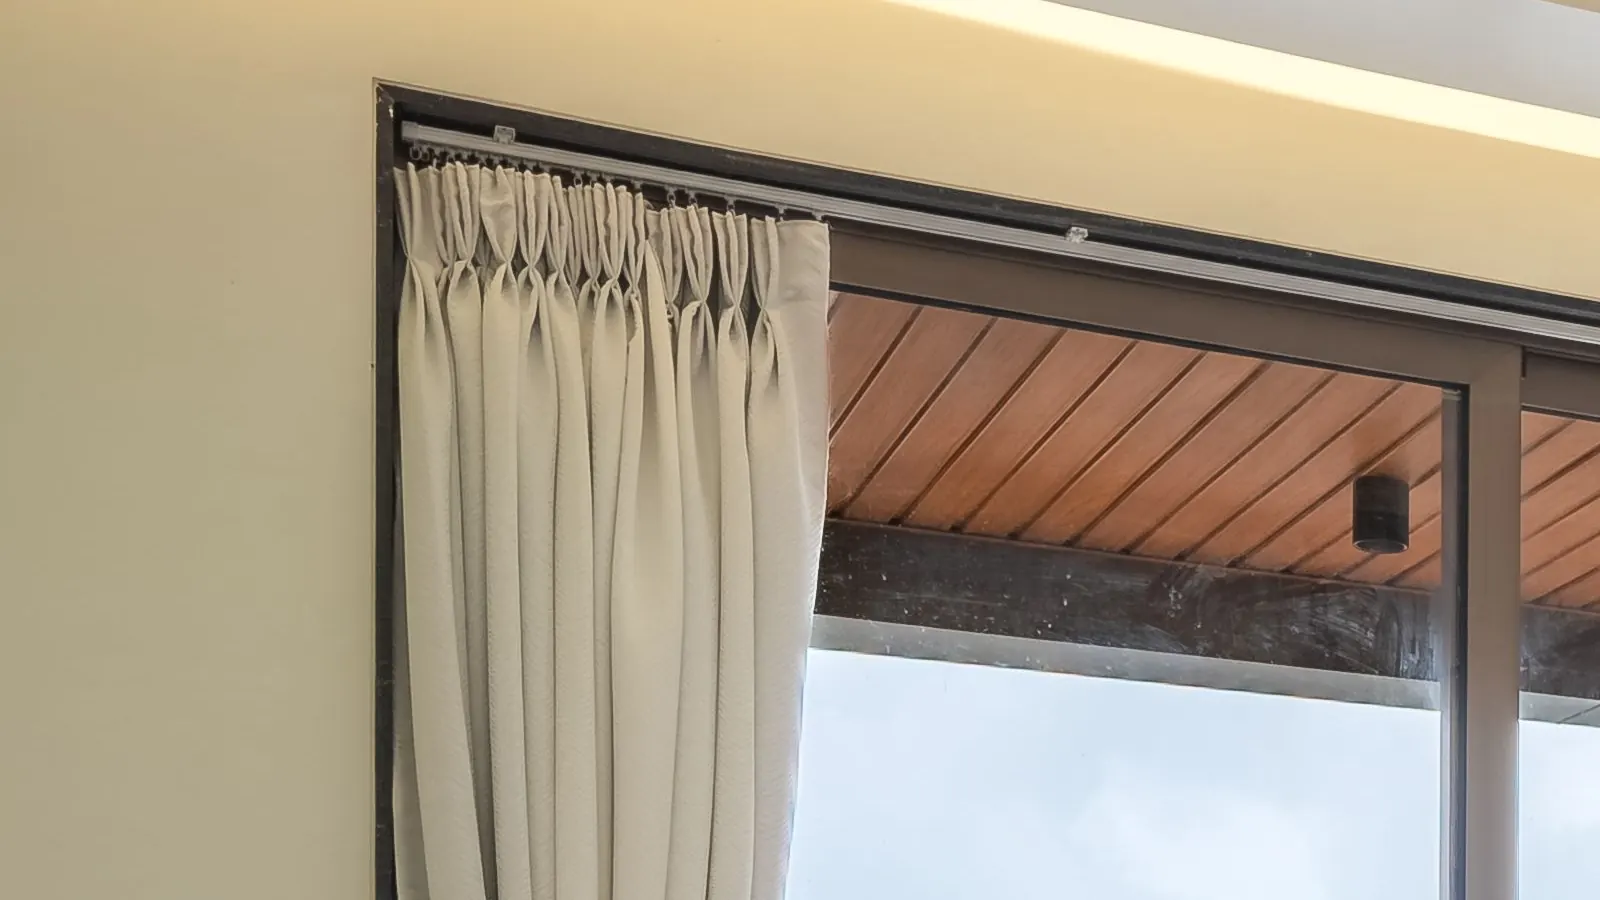
Pinch pleats are what make a curtain look made for its window. The fabric is stitched into clusters of folds at regular intervals across the heading, so when the panels are drawn they hang in even, sculpted columns, and when they are pushed open they fold back into the same tidy stack every time. It is the heading of choice for long linen drapes in a living room or lined velvet in a bedroom, and it rewards a little planning, because pleating swallows fabric: a panel cut from wide cloth finishes much narrower at the top, and sellers do not all describe that width the same way.
Pleat styles, and why to send a photo
The classic version gathers three folds into each pleat. Paramount Fabrics’ pleat chart lists it as the standard pleat, also called a pinch pleat, three-finger pleat or French pleat, and shows how much the look changes with small decisions:
- Where the pleat is tacked. The chart shows the standard pleat three ways: plain, with a center tack and with a top tack. The top-tacked version is the one it lists as Parisian, Brisby or tailored pleat. Ask which of the three a seller means, because the tack position changes where the folds close.
- How many folds. Two-fold pleats are slimmer and a little more relaxed; tacked at the top, the chart calls them a Euro pleat. A single pleat and an inverted box pleat appear on the chart as separate styles.
- Shaped cousins. Goblet pleats are stuffed into rounded cups at the top, and cartridge pleats form plump cylinders. Both read as more decorative and traditional.
Paramount’s own advice is the one to follow: names vary, so always provide a picture. Send the same close-up of the heading to every workroom or seller you compare.
As a rough guide to mood, a three-fold pleat tacked low feels classic and full, while a two-fold top-tacked pleat in plain linen or cotton looks crisp and modern. Formality comes as much from fabric and hardware as from the pleat: a heavy silk on a carved wooden pole reads like a drawing room, the same heading in washed linen on a thin black rod feels relaxed.
Fabric width versus finished coverage
This is where most ordering mistakes happen. A listed panel width might describe the flat cloth before pleating, the finished heading after pleating, or the total coverage of a pair.
The Shade Store’s pinch pleat measuring instructions show one clear system. You enter the total width you want covered, and the maker builds in fullness of roughly 2.5 times. For panels that open and close, that coverage width equals the span of the hardware, and for a pair the figure is split into two equal panels. Under that system, multiplying your window width by 2.5 yourself would produce curtains far too wide.
A ready-made panel’s listed width may describe flat fabric instead, which pleats down to a much narrower heading. Before ordering, find out in writing whether the width is before or after pleating, whether it is per panel or per pair, and whether it includes the center overlap and the returns that wrap back to the wall.
Panels that close, and panels that frame
Working curtains have to meet in the middle, so their finished coverage must span the whole hardware length. Stationary panels only need to look generous at the sides while a shade or blind handles privacy, and The Shade Store notes they can be ordered with less coverage and still look finished. That can save a good deal of fabric on a wide window.
The same instructions suggest extending the hardware about 6 to 12 inches past the window on each side where possible. The open curtains then stack mostly over the wall, so more glass and daylight stay clear and the window looks larger.
Before you settle that span, tape out the stack beside the window. Heavier lined or interlined panels usually stack deeper than sheer ones, and a narrow strip of wall between the window and a corner, a door or a tall cabinet may not hold them. If the space is tight, a single panel drawn to one side, or a different split across several windows, can solve it better than adding width.
Hooks, rings and tracks
Pinch pleats are usually hung with drapery hooks that slip or pin into the back of each pleat and then catch a ring on a pole or a carrier on a track. That hardware decides where the fabric starts, so it changes the length you order.
The Shade Store’s chart makes the point vividly: its deduction from the top of a pole to the top of the fabric is 2 inches on some poles with rings and 3 1/2 inches on others, and only 1/4 inch from the top of its track. One universal “rod-to-floor” measurement cannot cover all of those, so measure from the reference point your seller names.
Tracks work well with pinch pleats as long as the hooks suit the track’s carriers; ordering the hooks and track together is the simplest way to be sure.
A track keeps the heading close to the wall and lets the panels glide past ceiling or wall supports. A pole with rings shows off the pleats and the hardware, but center brackets on a long pole can stop rings from passing unless the system allows for it. Use the installation instructions for your hardware and wall, and make sure the brackets and anchors are rated for the finished weight, since interlined drapery is heavy.
Height and hem
Hang the hardware higher than the window frame if the wall allows. The Shade Store’s measuring tips suggest installing drapery as high above the window or door as you are comfortable with, because a taller line of fabric makes the ceiling feel higher and the window grander. Then set the length from that mounting point.
For panels you open and close every day, The Shade Store recommends finishing about 1/2 inch off the floor. A small break or puddle of 1 to 6 inches is its suggestion for a softer, more romantic finish, and it also hides an uneven floor. Puddles collect dust and pet hair, so save them for stationary panels or rooms with little traffic.
Measure the length at several points across the window, because floors and ceilings are rarely perfectly level. Keep the hems clear of floor vents and heaters, and follow the appliance’s clearance instructions instead of letting a puddle drape over them.
Lining changes the drape
The pleat shapes the top; lining and interlining shape everything below it. The Shade Store describes its privacy lining as adding body and weight, and its interlining as a cotton flannel layer between face fabric and lining that gives the drapery a better hang and more insulation. That extra body is what makes pleated folds look full and rounded rather than limp.
An unlined pleat in a sheer or light linen glows when the sun is behind it and moves easily, lovely in a living room that wants softness more than darkness. For a bedroom, a blackout lining helps, but light still escapes at the edges and top, so plan the hardware to sit high and wide. Face fabric, lining, stiffened header and trim may not share one cleaning method, so keep the care label for the finished curtain.
Silk is the one fabric to think twice about leaving bare. The same Shade Store instructions do not recommend unlined drapery for silk that will be exposed to direct sunlight, so a sunny window in silk is a case for a lining, even if you want the glow of an unlined panel elsewhere in the house.