How to Hang Curtains: Plan the Hardware, Mounting and Finished Fit
Hang curtains with a practical sequence for checking headings, rod capacity, mounting surfaces and finished length. Use the exact hardware instructions at each step.
By DecoraMintPublished 7-minute readMore in Blinds & Shades
In this guide
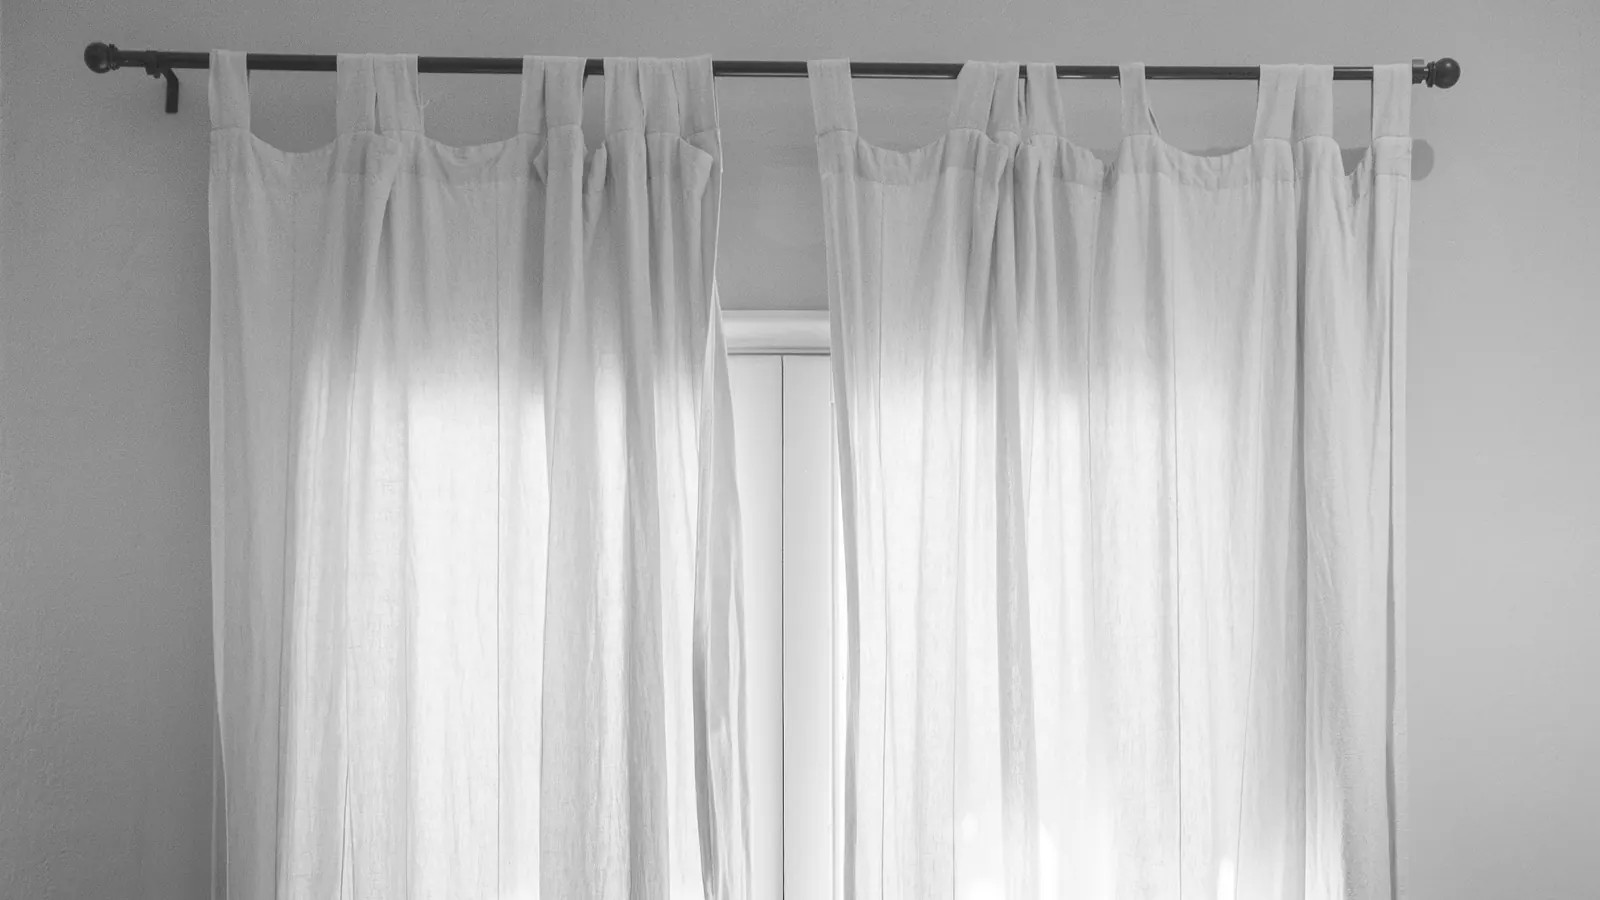
On a standard 8-foot wall, a good starting point is a rod about 4 to 6 inches above the window frame, extending 3 to 6 inches or more past each side, with panels whose combined width is about two to two-and-a-half times the window’s width. That is the guidance Bob Vila’s curtain-height guide gives, and it explains why some windows look tall and generous while others look pinched: the rod’s position and the fullness of the fabric do most of the visual work. The rest of hanging curtains is making sure the heading, the rod, the brackets and the wall can carry that plan safely.
1. Match the heading to the hardware
Start with how the curtain attaches, because it decides which rod or track you need and where the fabric sits in relation to it.
| Curtain arrangement | Compatibility check |
|---|---|
| Grommet or tab top | Rod diameter and room for the heading to slide |
| Rod pocket | Pocket size, and whether you really need to open and close it often |
| Rings and hooks | Ring diameter, hook type and where the hook sits on the fabric |
| Track and carriers | Approved carriers, hooks, stops and heading type |
| Two layers | Separate movement, bracket projection and total load |
Check the rod diameter against the grommet opening or ring size. Rods and rings that look alike in photos are often not interchangeable.
Grommets fold into deep, even waves and slide easily, a relaxed, modern look. Rod pockets gather softly and suit curtains that mostly stay put, since they drag when pulled. Rings and pinch pleats give the most tailored, hotel-like fall. If the curtain will hang in front of a blind or shade, look at the whole stack: window handles, headrails and deep trim can stop fabric moving even when the rod fits the width.
2. Decide where the curtain starts and ends
Mounting the rod higher and wider than the frame makes a window look larger, and lets open panels gather on the wall instead of over the glass, so you keep the daylight. On high ceilings, keep the rod within about 8 inches of the frame unless you have a reason to go higher; when there is less than about 12 inches between the frame and the ceiling, Bob Vila suggests going higher, close to the ceiling.
Then work out the drop. The curtain seller’s measuring convention matters here: the top of the rod, the bottom of a ring and the top of the fabric are three different reference points. Rings add drop below the rod, and grommet fabric rises a little above it. If the instructions allow, assemble a panel on its hardware and look at how the heading actually sits before you fix the height.
Mark the proposed rod line with removable tape and stand back. Look at it against the trim, the ceiling and the furniture under the window. A hem that just kisses the floor looks crisp; a little extra length pooling on the floor reads softer and more romantic. Whatever you pick, the rod height and the curtain length have to agree.
Remember that a rod’s stated length may not include finials, and center supports interrupt travel, so not every inch of an extended rod is space the curtain can use.
3. Check load limits and support spacing
Find the finished curtain weight, or ask the supplier, and add both layers on a double rod. Then read the capacity and spacing rules for your rod or track.
IKEA’s long RÄCKA rod listing is a clear example: it calls for three brackets on lengths up to 110 inches and four beyond that, and its recommended maximum load applies only at a stated distance between brackets. A maximum weight means little without the support arrangement it was rated for. The rod, holders, screws and the wall all have to suit the setup; when limits are unclear, ask the manufacturer.
Plan center supports before deciding which way the panels open. On an ordinary rod, rings and grommets cannot pass a center bracket, so a single panel that must travel the full width may need a track or a rod system designed to let rings pass its supports.
4. Know your wall and gather tools
Brackets are designed for a particular surface: wall, ceiling or window recess. A wall bracket is not automatically right for a ceiling. Umbra’s rod guide links model instructions and mounting restrictions; follow the sheet for the hardware you own.
Identify what you are drilling into and choose fasteners to suit it. Supplied anchors may suit only one wall type. If you cannot work out the construction or a sound fixing method, get qualified help before drilling.
Wiring and pipes can run near windows. Use a detector and safe-work practice for the location, and do not drill a spot just because it looks symmetrical.
Have the tools from the instructions plus a tape measure and level, and use a stable step ladder, not a chair or sofa arm. Clear the floor below and ask someone to help with a long or heavy rod.
5. Mark, level and fix the brackets
Measure from one consistent reference and check the line with a level. Window trim and ceilings are often out of level, so step back and look before you drill; if level and the trim disagree visibly, find a compromise the eye accepts. Copying a crooked edge only spreads the problem.
Mark the fixing points with the bracket or template exactly as directed, and check the bracket’s orientation and projection against the sill, handles or a second curtain layer. Recheck every support, including any center bracket, against the product’s spacing rules, and compare the marks with where the closed curtain should reach and where the open panels will stack.
Fix the brackets with the drill bit, screws and anchors the instructions specify. Stop if the wall crumbles, an anchor spins or a bracket will not tighten.
6. Hang the curtains in the right order
Some rods must be threaded through the curtain before they go into the brackets; others take removable rings or track carriers. Read the whole sequence first so you are not lifting a heavy assembly up and down.
Remove finials or end stops only as directed and keep small parts together. Join rod sections with the required overlap, and never stretch a telescoping rod beyond its stated range to reach a misplaced bracket. Attach the curtain with the right hooks or rings, spread the fabric evenly, and on a track fit the end stops so carriers cannot run off.
Seat the rod and tighten any locking screws the manual calls for. A rod resting in an open holder may still need that screw, even if it seems to stay up without it.
7. Test the movement and the finished drop
Open and close the curtains gently through their full range. Watch for snags at rod joints, rings catching brackets, fabric brushing a handle, or layers dragging on each other. If the rod bends noticeably or a bracket shifts, stop and find out why before daily use.
Check the hem across the full width. Uneven floors and inconsistent hook positions make matching panels look mismatched; adjust hooks or ring positions before reaching for scissors. Give the fabric time to settle according to its care label, and check return conditions before hemming anything. Keep the fabric clear of heaters, vents and other equipment throughout its movement.
Finally, look at the curtains open and closed from where you usually sit. Closed, they should cover the window with soft folds still in them; open, they should gather where they do not block a door, a radiator or a walkway.
When something looks wrong
| Problem | Look at first |
|---|---|
| Rod sags | Load, extension range and support spacing |
| Curtain catches at the center | A bracket or rod joint interrupting travel |
| Hems end at different heights | Hook positions, heading attachment and floor level |
| Panels do not meet comfortably | Panel width and the seller’s width convention |
| Curtain rubs the window handle | Bracket projection and total treatment depth |
A loose bracket hidden behind a valance, or a sagging span you work around by tugging harder, will only get worse. Go back to the installation requirement that was missed.
Can I hang curtains without drilling?
Yes, within the limits of the system. Tension rods and adhesive hooks are rated for specific surfaces, widths and weights, and a heavy lined curtain can easily exceed them.
Can I raise the rod to fix curtains that are too long?
Often, and it can make the window look taller. Make sure the new position suits the hardware, the wall and the coverage you want, and measure from the right reference point on the heading first.
If a shade or blind will share the window, our guide on how to choose window shades helps you settle its role before you fix the curtain hardware.